When it comes to making photos more eye-catchy Photoshop is considered the best application that can make pictures more stunning and spectacular. Today on this blog we are here with some easy fundamental tips that will help you to edit travel photos professionally. If you want to make your travel photographs look more attractive and eye-catchy to get more followers and likes then we are here to help you. Yes, we have brought some smart tips that make the travel photos look more professionally excellent. So, if you want to know more just keep scrolling and take a look at the details that are shared below.
Well, the process of editing can tricky because you can experiment with numbers of features. So, if you want to make the travel photos look more stunning and professionally edited then Photoshop is the best destination for editing. Therefore, for next level photo editing tips you can check out the details that are shared beneath.
Pro Editing Tips On Photoshop
Yes, Photoshop is indeed an advanced platform for photography editing. This platform delivers you features like changing backdrops, creating the photograph more dramatic, adding text features, making photos look more outstanding, and realistic, giving more light and contrast to make the photographs more spectacular. To make the travel photographs look more professional and creative Adobe Photoshop offers 30 days trial test that you can try out to give a professional fabulous look to every picture.
Similarly, Adobe light room is another application that offers you lightroom techniques to enhance the aesthetic and professional beauty of the photographs. Most importantly, before editing the photograph you can create a copy version of the original picture in case you don’t lose the original image for further editing or further experimenting with the newest techniques of photo editing.
Procedure 1: Crop The Picture
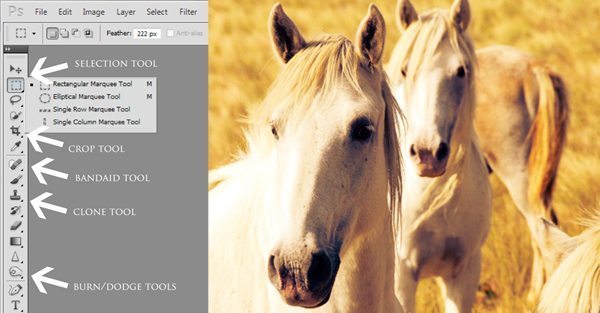
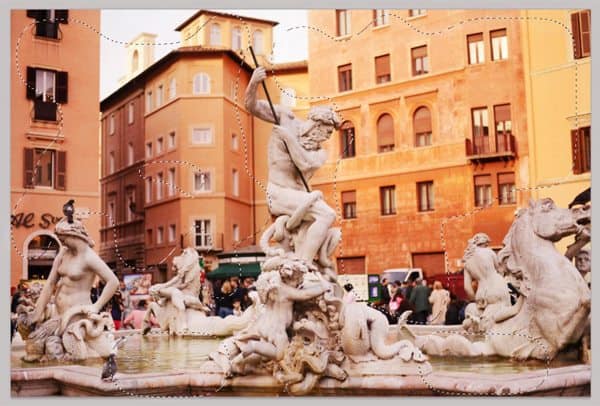
Cropping of picture help to create a better composition and makes your photograph look more interesting. The cropping feature helps to make the photo look straighter it creates a better horizon to make the photograph look more professional. In case, if your photo contains any kind of distraction then cropping is the best feature that can help to trim the edges and make your photograph look more appealing, and enhance the composition. Firstly, from the toolbox option, you can select the crop tool. Secondly, select an accurate ratio for cropping. Also, so you can add your preferred dimension to trim off the corners and edges. Thirdly, after your photo is cropped you can finalize the crop by clicking on the final tick button.
Procedure 2: Brightness, Exposure, And Contrast
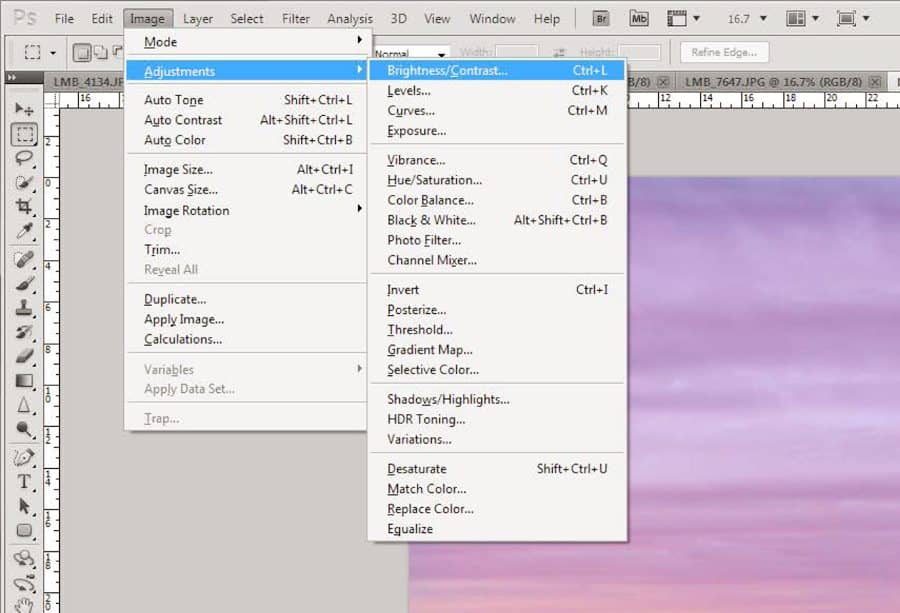
Well, brightness, contrast, and exposure are the most important thing about every photograph. If you want to make your travel photograph look brighter, contrasting, and eye-catchy then you can click on the adjustment option and you can easily give a brighter and contrasting look to the picture according to your preference. Similarly, you can also give a warm to cold look to the picture by using other features.
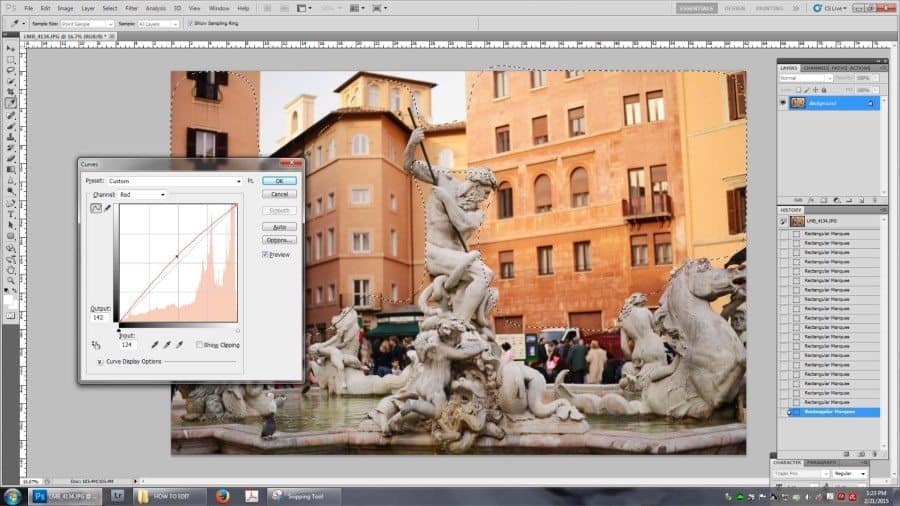
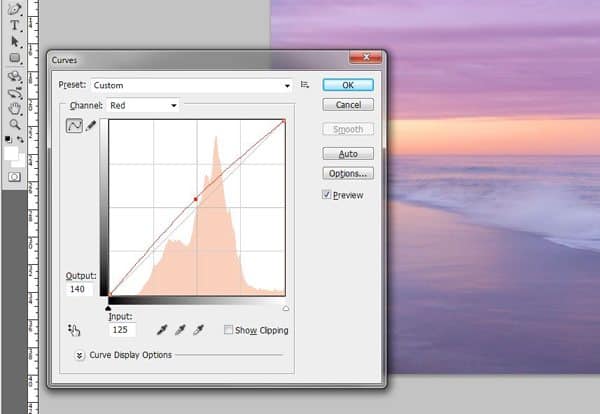
Similarly, you can also use features like levels, curves, shadow, highlight, HDR toning to enhance the professional beauty of the travel photograph. Also, these features can easily make the picture look brighter, vibrant, and professionally edited to grab the attention of the audience. Giving shadow and using HDR toning can also help to make the photograph more enhancing and aesthetic to make every travel photograph look more perfectly redefined.
Procedure 3: Use Spot Healing And Clone Tool
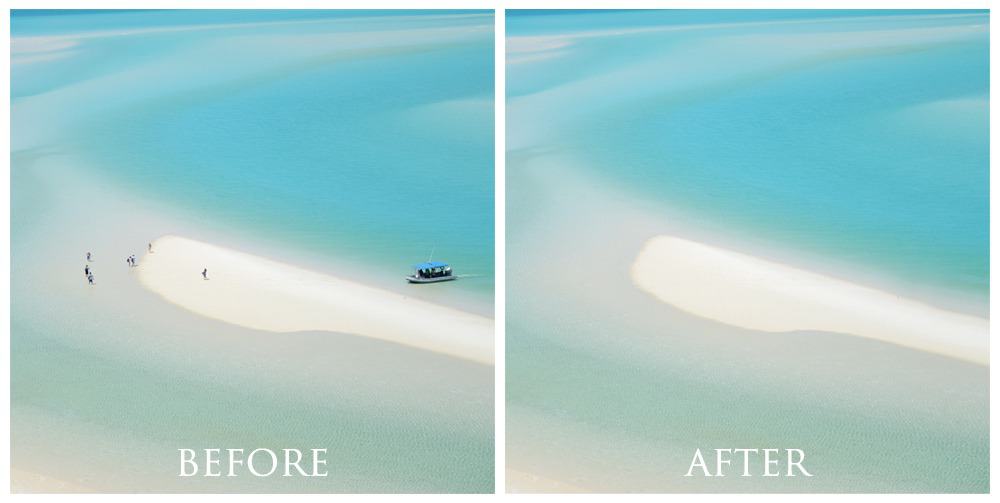
Spot healing tool is one of the amazing tools that can help to clear dust and bugs in the image. If you want to remove unwanted things from the travel photograph then a spot healing brush can easily fix your problem. You can select spot healing brush from the toolbox and dropdown to fix these spots. Similarly, the healing brush tool can also help to clear all the spots by dragging the cursor. Apart from that clone stamp is another option from the toolbox that can help to erase all the blemishes, spots, and unwanted things from the image. Therefore, using these tools can easily help to make the appearance of the photograph more clear and amazing to make it look like a professional picture.
Procedure 4: Color Balance
Photoshop color balance is an amazing feature that can help to give amazing adjustments to the picture to enhance the real-time beauty of the entire scene. Clicking on the menu bar, on the adjustment tool you can click on the color balance options and enhance the accurate tones of shadow highlights and mid-tones to enhance the versatile and professional look of the picture. Giving a desired color balance look to the picture can help to make your travel photograph look more appealing and attractive.
In Photoshop the color balance is an amazing feature that can easily make the photo more amazing by adding a warm and cool tone. Also, the white balance is important that maintain the accurate colors of the entire picture. If you want to make your travel photograph more aesthetic and appealing then you can click on the adjustment tool and click on photo filter to give a variety of layers to enhance the beauty of the photograph.
Procedure 5: Blurring And Sharpening Tool
To enhance the greater and professional balance of the travel photographs you can give proper blurring and sharpening features to enhance the perfect look of the picture. In the photograph, the blurring tool is one of the advanced features that can make the entire photograph more focused and admirable. The sharpening feature can easily enhance the edges of the image and make the picture perfectly appealing.
You can go to the menu bar click on the noise and you can easily reduce the noise. Similarly, you can go to the filter on the sharp feature and apply a sharpening filter to enhance the additional redefined beauty of the entire photo. And, with the help of a blurring tool, you can easily achieve the blurring a fact according to the extent you want. These two tools of Photoshop can easily make the photograph more highlighted focused and perfectly professional to grab the attention of the audience.
Procedure 6: Other Pro Editing Tips
- Making adjustments on duplicate layers can also help to maintain the original and edited look of the picture.
- You can also give vintage look to the picture by using a color picker (tint color, tilt-shift blur filter) or you can simply give B/W filter to the photograph to enhance the old-fashion classic beauty of the entire travel picture in Photoshop. Giving extra sharpness and contrast to the cityscapes pictures can make the entire scene more attractive and professional.
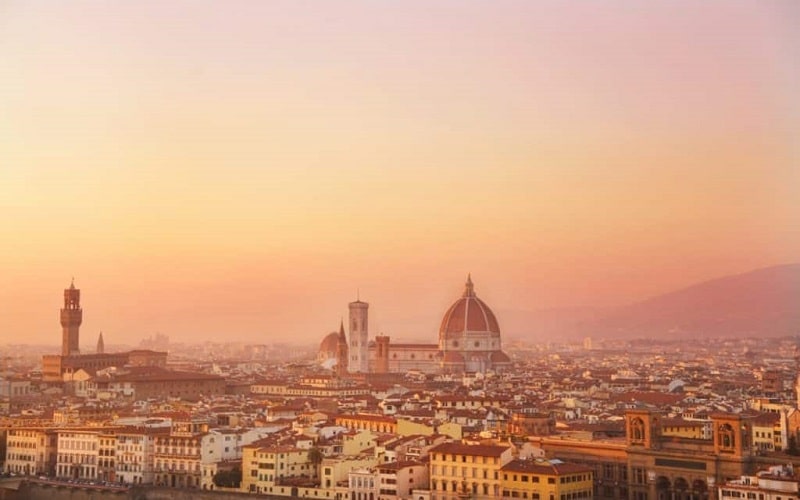
- Also, you can create text and illusionary additional edits to enhance the jaw-dropping dramatic dreamy look of the photograph. Adding proper saturation and curve technique can help to make water and underwater picture more perfect. Similarly, warm tones and little saturation can help to make the sunset and sunny photographs more eye-catchy.
Therefore, these were the best pro editing tips that you can experiment with on Photoshop to make the travel photographs look more professional and jaw-dropping. Thus, we hope that this blog has served you the best details and if you want more details then you can surely dig into our website.

